3. Impression 3D#
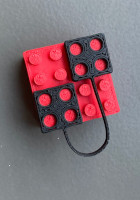
This week, I had the opportunity to print the pieces that I made last week.
// Parameters
d_hole=4.8;
h=3.2;
w=8;
fn=50;
tick=1;
module hole() {
cylinder(h=h,d=d_hole,$fn=fn);
}
module brick() {
difference() {
cube([2*w,2*w,h]);
for (x = [0,w]) {
for (y = [0,w]) {
translate([x+w/2, y+w/2, 0])
hole();
}
}
}
}
module band() {
cube([tick,8*w,h]);
}
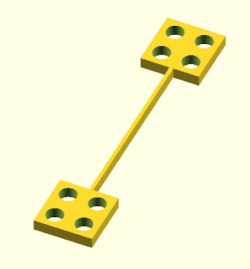
module flexlink() {
union() {
brick();
translate([0,8*w,0])
brick();
translate([w,2*w,0])
band();
}
}
flexlink();
// File : classmate.scad
// Author : Matilde Gonçalves
// Date : 20th november 2024
// License : Creative Commons Attribution-ShareAlike 4.0 International CC BY-SA 4.0
// Parameters
fn = 50;
h_cube = 16;
h_hole = 3.2;
d_hole = 4.8;
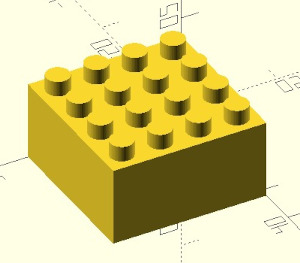
// Create the cube
cube([2 * h_cube, 2 * h_cube, h_cube]);
// Create the holes using loops
for (x = [4, 12, 20, 28]) {
for (y = [4, 12, 20, 28]) {
translate([x, y, h_cube])
cylinder(h=h_hole, d=d_hole, $fn=fn);
}
}
To ensure the two pieces fit, I used the parameters from this page. I used exactly the same parameters as LEGO pieces. Fortunately, the two pieces fit after the first iteration, so it wasn’t necessary to iterate many times or adjust the parameters to make the objects fit. To proceed with printing, I followed these steps.
Preparation#
1.I opened my project in OpenScad and saved it in STL format. 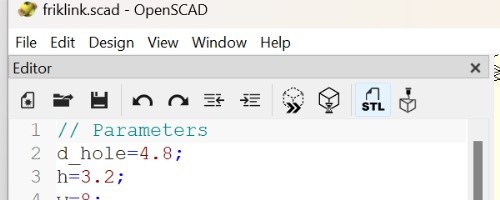
2.I installed PrusaSlicer, which is a powerful, open-source slicing software designed for preparing 3D models for printing.
3.I opened the STL file in PrusaSlicer and did some configuration work.
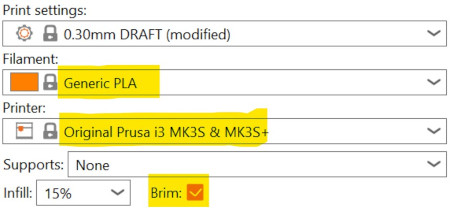
The left bar was very important for choosing the position that required fewer supports, helping to minimize material waste. Most of the time, the best position is the one that has more contact with the table.
4.Afterwards I clicked on SLICE NOW and then on EXPORT G-CODE and saved it .
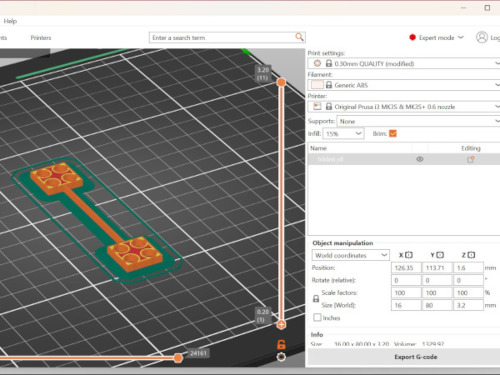
5.Finally I copied the G-CODE to an SD card.
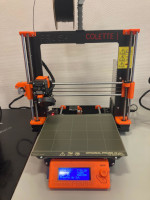
Printing#
I inserted the SD card into the printer and selected the file I wanted to print. Before the printer started, it displayed the estimated printing time as well as the temperature of the filament.