1. Project Management and Documentation#
In this section you can find step by step how I made my personal webpage. At first, it looked very confusing and complicated but with some help of my friends and research I was able to do it. If you are lost and don’t know how to advance any further I really recomend reading this page!
1. Create an account in GitLab#
To create an account in GitLab open this link. Then you should create an account with an username equal to name.surname. Open your profile page, copy your USER ID and share it with your teacher. Maybe it’s interesting to add a profile photo and other information about yourself!
2. GitLab? What is it?#
With GitLab you can code in two different ways:
| Online | Locally |
|---|---|
| By just clicking on Web IDE. Most people think that´s easier and more intuitive. | This means that you can modify whatever you want with your own computer without needing access to a website. Using this method is better because everything is done through Linux programs, which means that we don’t use a graphical user interface, the programs execute faster as well. In the next steps I will explain how to use git locally. |
2.1. Install Git#
So, as we will work locally on our own computers, you will have to install git (with this link) and configure it.
2.2. Configure Git#
Now, to configure git you have to use specific commands.
Open Git-Bash and introduce these commands on the console to create your username and email address:
$ git config --global user.name "matilde.convalves"
$ git config --global user.email "matilde.peralta.goncalves@ulb.be"
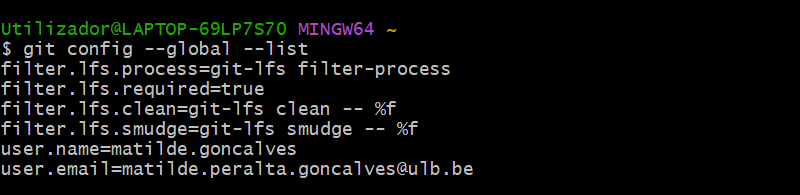
Now, introduce this command to make sure that everything is correct:
$ git config --global --list
If everything is ok, the console will return this:
3. Create an SSH key#
Open gitbash and insert the following command:
$ ssh-keygen -t rsa -b 4096 -C "matilde.peralta.goncalves@ulb.be"
Afterwards, you will get the following code and you will need to write the location of where you want to store your SSH Key:

Choose a password:

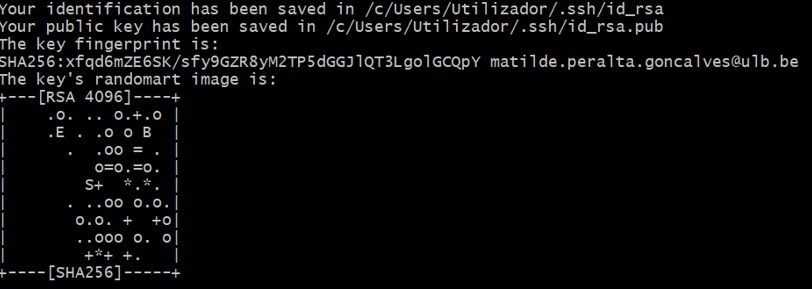
If everything went successfully you should get the following message:
3.1. Insert the SSH Key in GitLab#
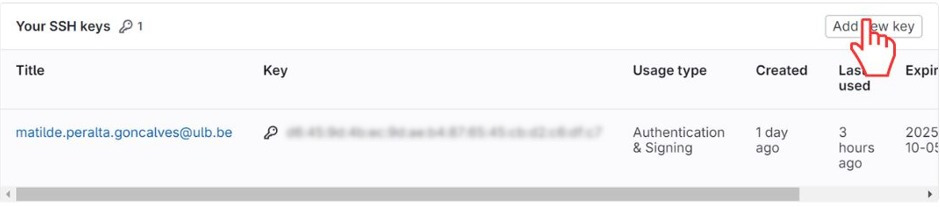
Navigate to where you saved the SSH Key, open the file that ends with .pub (public key) and copy the message.

Then open the page GitLab Online, go to the menu and click on SSH keys. You should paste your SSH Key and save the changes.
4. Install Visual Studio Code and the GitLab extension#
Now that you have GitLab and an SSH Key, you need a text editor. Visual Studio Code is very intuitive, practical and known for this kind of use so I decided to use it. If you choose to work with Visual Studio Code as well, you can install it with this link and follow the normal procedures.
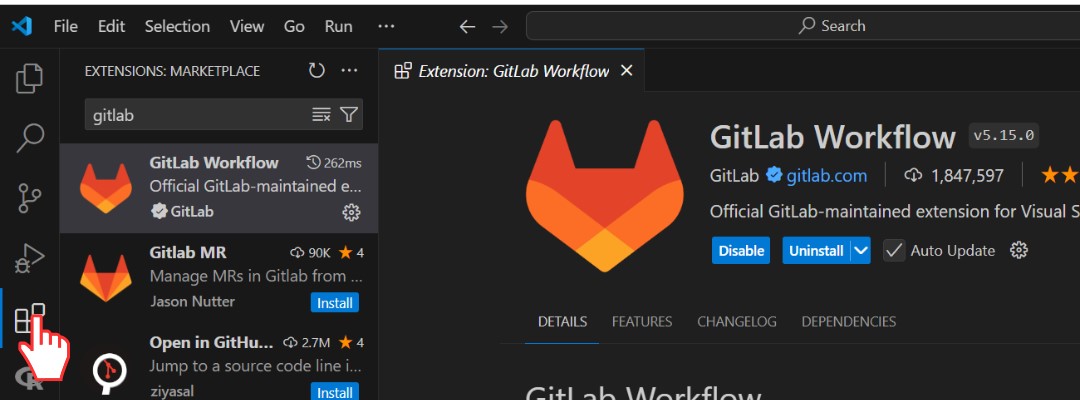
Afterwards, you have to install the Gitlab Extension on your IDE. To do so, click on the ilustrated icon on the menu bar and write GitLab Workflow and install it.
5. Clone the repository to Visual Studio Code#
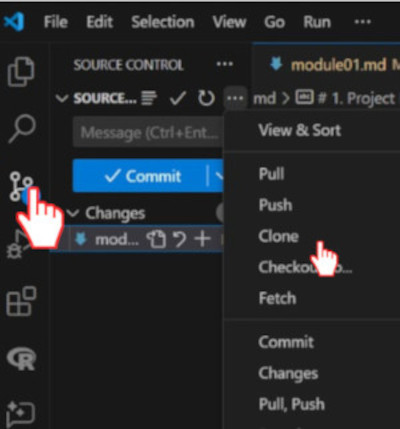
Then you should choose the option clone in GitLab and paste your SSH Key. Now, all of your files should appear and you should be able to start writing your own webpage.
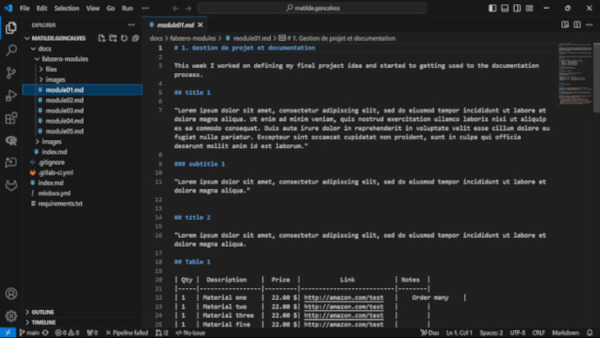
6. Start coding in Markdown#
| Element | Syntax |
|---|---|
| Headers | # H1 ## H2 ### H3 |
| Bold | **bold text** |
| Italic | *italicized text* |
| Ordered List | 1. First item 2. Second item 3. Third item |
| Unordered List | * First item * Second item * Third item |
| Link | [title](https://www.example.com) |
| Image |  |
| Blockquote | > Sentence |
| Emogis | Link |
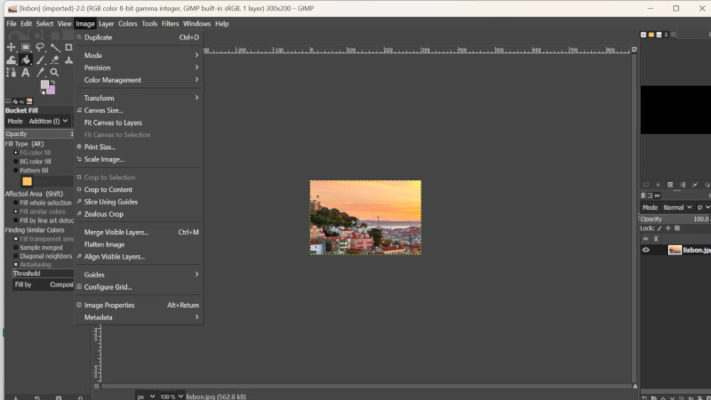
7. Images#
To adjust the size of images, I used GIMP.
Canvas Size: I used this adjust the image dimensions (cut the image)
Scale Image: I used this to change the size of the image contents
8. Project Management Principles#
One useful idea that I learned about Project Mangement was Documentation. This I wrote down progress, problems, and solutions as I go. This helps ensure no important details are forgotten. Another helpful approach is Spiral Development. This method breaks a project into cycles, with each round improving on the last. It’s great for complex projects because it allows teams to learn, adapt, and make gradual progress. By using these simple principles, teams can stay focused, work efficiently, and keep making steady progress.